
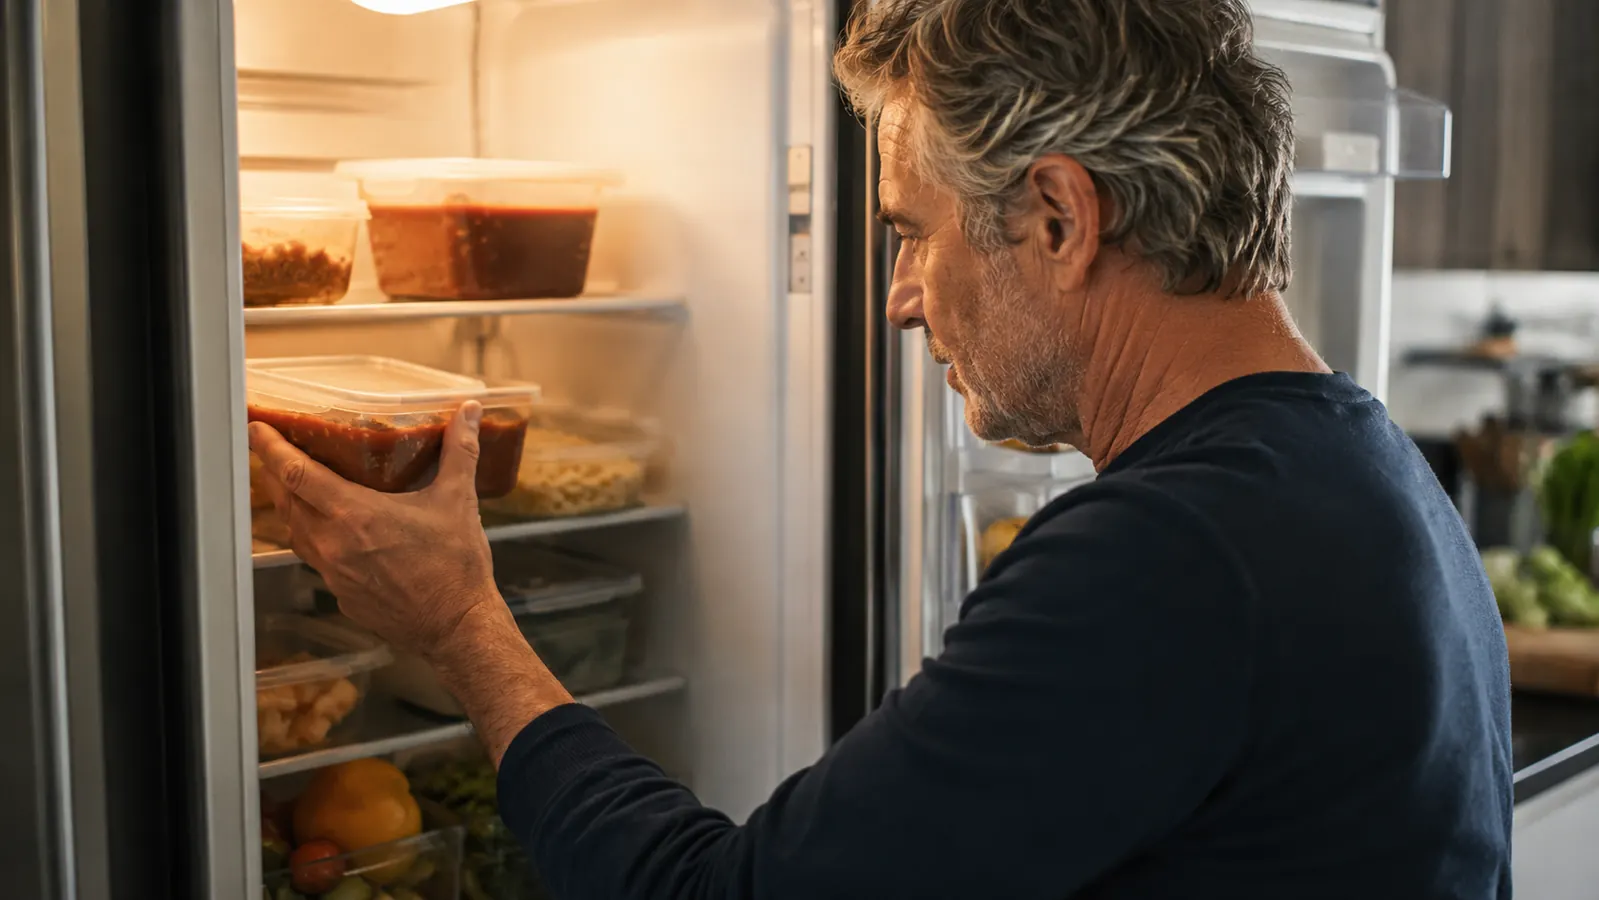
You know how this goes. Supper is done, so you scrape the leftover pot roast into a metal bowl, balance a plate on top, and jam the whole thing in the fridge. Three days later you lift the plate and there it is, a gray-green patch working its way across the gravy, and the bowl underneath has a ring the color of the tomato sauce it used to hold. I stored food exactly that way for thirty years, and I threw away more of it than I care to add up. The fix is not a vacuum sealer and it is not a fancy fridge. It is five habits, in order, and a set of containers that stops fighting you.
The habits are: cool it, move it, seal it, date it, rotate it. Learn them once and you can stop running a biology lab inside your refrigerator. The container half of the job got easier for me this past year, because I finally bought a matching set instead of the mismatched tubs living in my drawer. I run a Rubbermaid Brilliance set, ten pieces, five containers and five latched lids, every single evening. Here is the whole routine as I actually do it, numbers and all.
Do the Air Half and You Are Half Done
Most mold is an air and moisture problem, and a container with a real latch and a good seal does that half for you. The 10-piece Rubbermaid Brilliance set is what I have on my counter every night.
Amazon Check Today's Price on Amazon →Why Leftovers Go Bad, in Two Sentences
Food spoils two separate ways, and they need opposite fixes, which is why nobody can solve the problem with a single trick. Bacteria grow fastest in the warm range between 40 and 140 degrees Fahrenheit, and they roughly double every twenty minutes. A pot of chili that sits out for two hours has been through several doublings even though it still looks and smells fine.
Mold and stains are driven by moisture and oxygen instead. Mold shows up where steam condensed under a lid or where food was sealed while it was still hot, because that trapped water is exactly what mold eats. Stains are just sauce soaking into the plastic while it sits. Fix the cooling and the sealing and most of the visible damage stops happening on its own.
There is also a third factor living in the fridge itself, not the container. A packed refrigerator circulates warm air poorly and runs harder to hold its temperature, so the overcrowded fridge is the one where leftover containers sweat before you even touch them. If yours is stuffed wall to wall, the best container in the world is fighting the room. Leave a little air space around the stack so the cold can actually move.
Step 1: Cool It in a Wide, Shallow Container
Cooked food has to come down from serving temperature and get below 140 degrees, and the shape of the container decides how long that takes. A deep pot with a lid holds heat like a thermos. Spread the same food into a layer that is two inches deep in a wide, shallow container, and it sheds that heat in a fraction of the time.
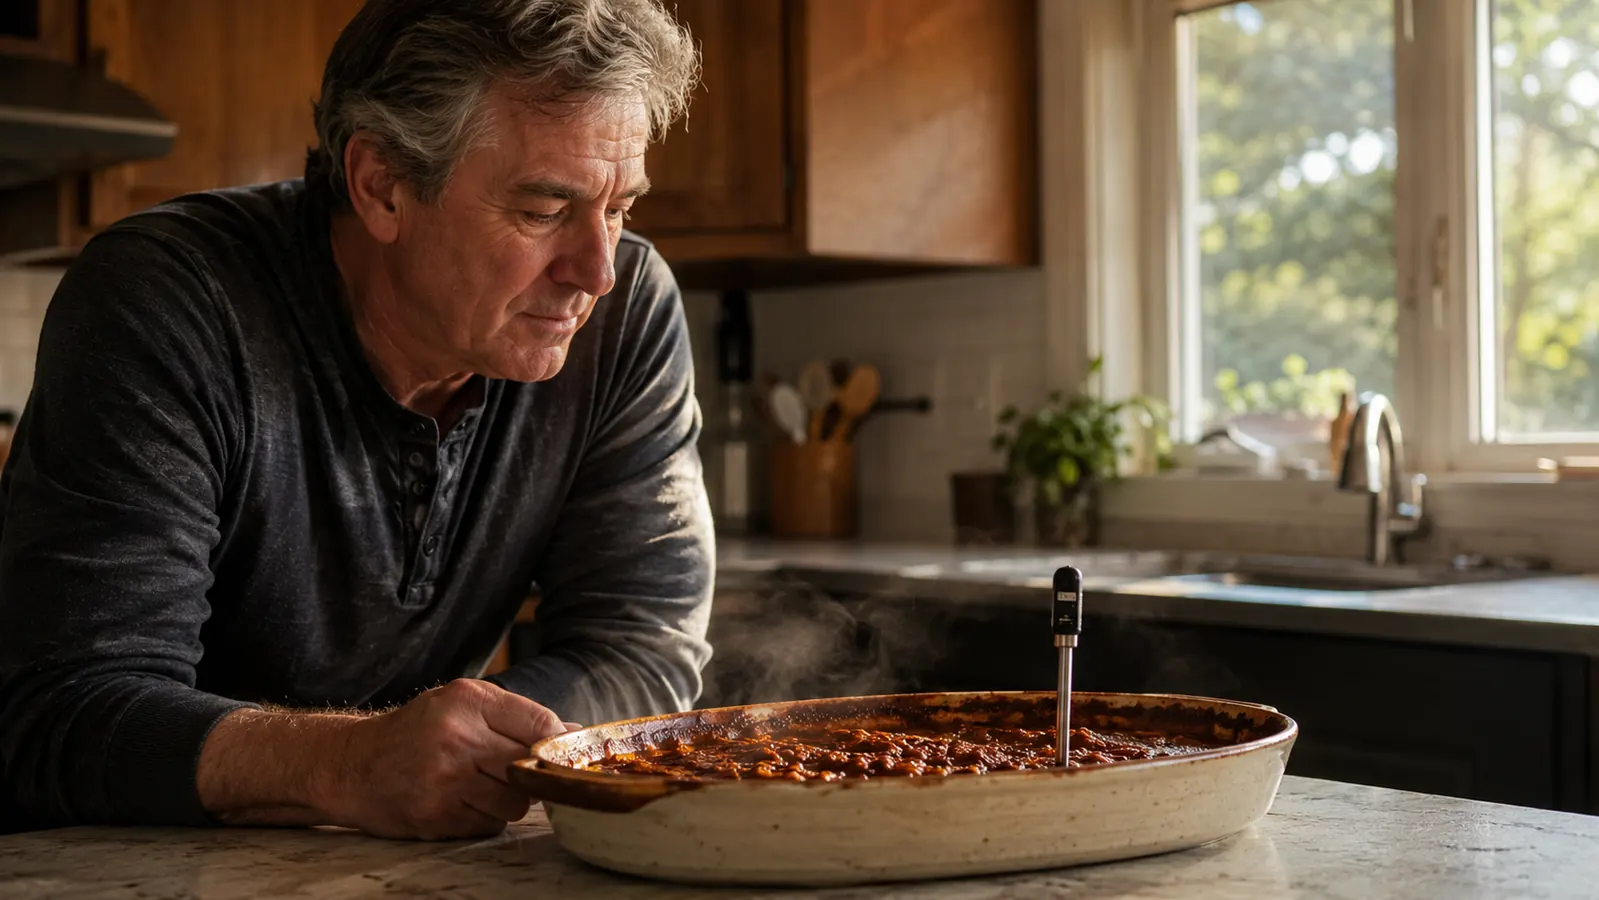
I proved this to myself one Sunday evening with a probe thermometer and a 6-quart pot of beef stew. It came off the stove at 190 degrees and sat on the counter for nearly two hours before it dropped below 140. I split the same stew into four shallow containers the following weekend, and the batch was under 140 in about 25 minutes. That time gap is the entire game.
Two rules of thumb keep it simple. Get the food portioned and exposed to air within an hour of coming off the stove, and if the batch is too big to cool fast, split it. Eight quarts of stew will chill much faster as four containers of two quarts each than as one deep pot. And if a container is still warm to your palm after an hour, it is cooling too slowly, so redistribute it.
The other cooling mistake is covering too early. Everyone wants to keep the dust and the dog out of the food, so the lid goes on while the container is still warm, steamy and above 140. That lid traps the steam, which condenses on the underside, drips back onto the food, and hands mold the wet surface it needs. Leave the lid ajar, or lay a clean towel over the top until the container reads below 140, then seal it for real.
Step 2: Move It Out of the Cooking Vessel
Your pot is for cooking, not for storing. A stew pot is too deep to cool evenly, its lid does not seal, and reheating right in the pot recooks the entire batch every time you want one serving. If you have ever eaten Wednesday's chili and thought it tasted closer to Friday's, this is exactly why.
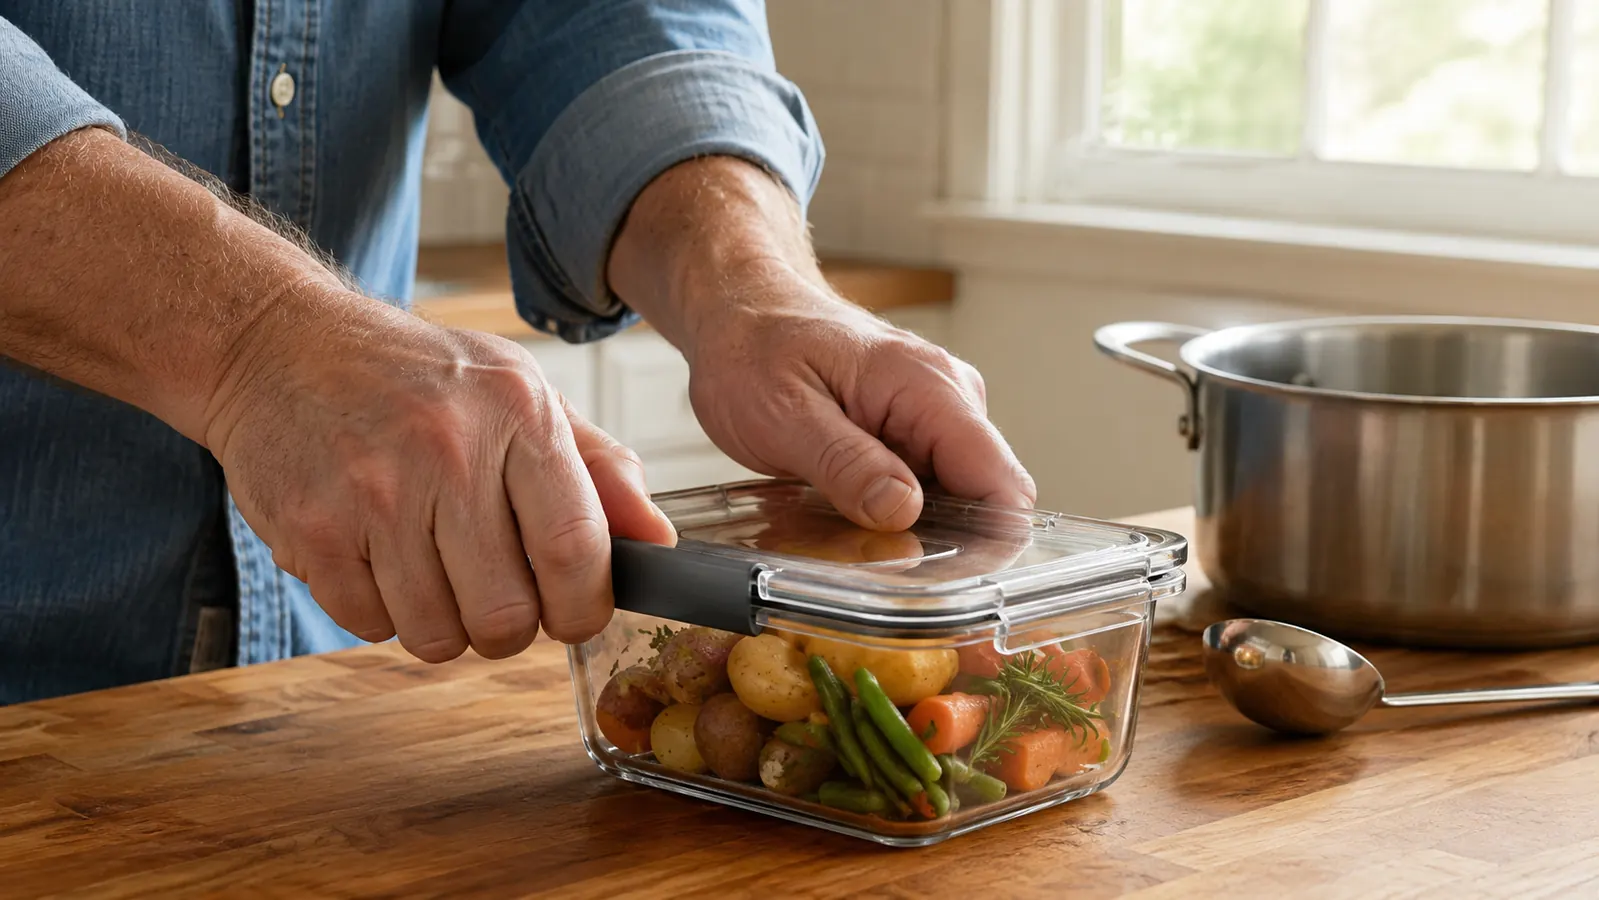
Portion into meal-sized containers while the food is still warm, one serving per container, so you only ever reheat what you are about to eat. I use the smaller rectangular Rubbermaid Brilliance boxes for sides and the big ones for a full supper, and I fill them with a ladle instead of tipping the pot. Tipping a pot is how tomato sauce ends up on the rim, then on the counter, then on the outside of a lid you have to scrub off later.
This step also protects the plastic itself. Grease and sauce do their worst over time, so the shorter the contact between a tomato ring and a container wall, the less likely that container ends up stained and demoted to the drawer of shame.
Step 3: Seal It Airtight, and Prove It
Once the food is at fridge temperature, seal it. An airtight container does two jobs at once. It keeps the moisture inside the food instead of condensed on the lid where it feeds mold, and it keeps the rest of your fridge from trading smells with your leftovers. Mold needs oxygen, so a real seal takes away its air supply.
This is where I learned to stop trusting plastic wrap and inverted plates. The Rubbermaid Brilliance lids have a latch on each side and a gasket around the rim, and you can feel the seal seat when you press the latches down. I tested one the week I bought the set by filling a container with leftover marinara, closing it, and holding it upside down over the sink. Not a drop. I would not have tried that with the round tubs I used to own.
If you are buying containers for this exact purpose, buy for the lid and not the tub. A cheap tub with a flat snap-on lid is a tray wearing a hat. What you want is a lid that visibly clicks home, a gasket you can see, and sides clear enough that you can tell what is inside without opening it and letting fresh air in.
Step 4: Date It, and Add a Kill Date
Every container goes into the fridge with a label, because your memory of what Monday's casserole was will be gone by Thursday. I use a strip of masking tape and a Sharpie, two lines: what it is and the date it went in. Some people write on the lid with a dry-erase marker, which also works, and both come off with the wash.
The shelf life I live by is four days. Most cooked leftovers are at their best for three to four days in the fridge, so the label carries the eat-by date along with the name. If I am not going to touch a container within four days, it goes to the freezer instead of waiting in line for a day it will never see.
The label is what kills the mystery container, the tub of something from the weekend that nobody wants to open because nobody remembers what it is. Labeled, it gets eaten or thrown out on day four, and either way it stops being the thing you find three weeks later with a color you cannot name.
Step 5: Rotate It, First In First Out
Fresh leftovers go behind the older ones. It sounds trivial, but this is the habit that actually empties a fridge instead of slowly filling it forever. Sunday's portion sits at the front of the shelf, Tuesday's portion goes behind it, and the label from Step 4 tells you which one is due.
Freezing is the escape hatch that makes the whole system humane. Sauces, chili, shredded meat and stew all freeze well, so anything that reaches day three in the fridge moves to the freezer in a latched container instead of turning into a guilt object. I got picky with a few things over the year: bread goes to the freezer, and rice and pasta have short lives no matter what container they are in.
Run this rotation for a month and you will cook about the same amount but throw away far less, because everything has a date and a place. That is the part nobody sells you with the containers, and honestly it is worth more than the set itself.
The Stain Rescue Routine
Even with the five steps done right, you will still get a ring now and then, because tomato and turmeric are relentless and no plastic is forever. The routine that rescues mine: rinse the container the same night it gets used, then if a ring survived the wash, make a paste of baking soda and water, coat the stain, and let it sit for ten minutes before scrubbing with the soft side of the sponge. That lifts nine out of ten rings without scratching. Scratched plastic is porous plastic, and porous plastic is where every future stain will live.
The other rescue is a dedicated scrub. A toothbrush and a small dab of dish soap on a latch edge or a corner beats a sponge every time. And if a container ever gets stained badly enough that you find yourself avoiding it, retire it. A stained box nobody wants to use is just taking up drawer space, and the whole point of a matching set is that every piece stays in rotation.
What Else Helps
Washing. Hot water and dish soap handle the everyday mess, and a paste of baking soda left sitting for ten minutes lifts most stubborn rings out of plastic, tomato and curry included. The Rubbermaid Brilliance containers have stained less than the clear tubs I used to buy, I have compared them side by side, but no plastic is indestructible. I rinse tomato containers the same night they get used so the sauce does not sit in them for a week.
Microwaving. The containers are fine to reheat in, but release the latch or tip the lid open so steam can escape. With the latch closed, steam builds up under a real seal and the lid can pop off from the pressure when you open the door. I reheat at reduced power and stir once, because a sauce that boils over in the microwave is still a sauce that boils over.
The honest tradeoff: glass containers beat plastic on stains, period, and if you only ever store spaghetti sauce you might prefer them. What plastic buys you is weight and shatter resistance. I drop things, my grandkids help clear the table, and a container that bounces is worth more to me than one that can never stain. My compromise is that anything heading to the freezer or the microwave lives in the plastic, and anything I know will sit in sauce for days goes in a glass dish under a Brilliance lid, because the lid is the part that actually seals.
Two free habits close the loop. Keep the fridge at or below 40 degrees, and reheat leftovers to a real 165 degrees in the center, not just until the edges look warm. Those two plus the five steps are the whole system. Everything else is packaging.
The same stew that took two hours to shed fifty degrees in a tall pot was under 140 in about 25 minutes once I split it into shallow containers. Cooling is a shape problem before it is a time problem.
Buy the Lid, Not the Tub
Five steps, and the container does the sealing half of them. The 10-piece Rubbermaid Brilliance set is what I run every evening, and it has held up through a year of marinaras, curries and chili. Check the current price and read the reviews before you buy.
Amazon Check Today's Price on Amazon →